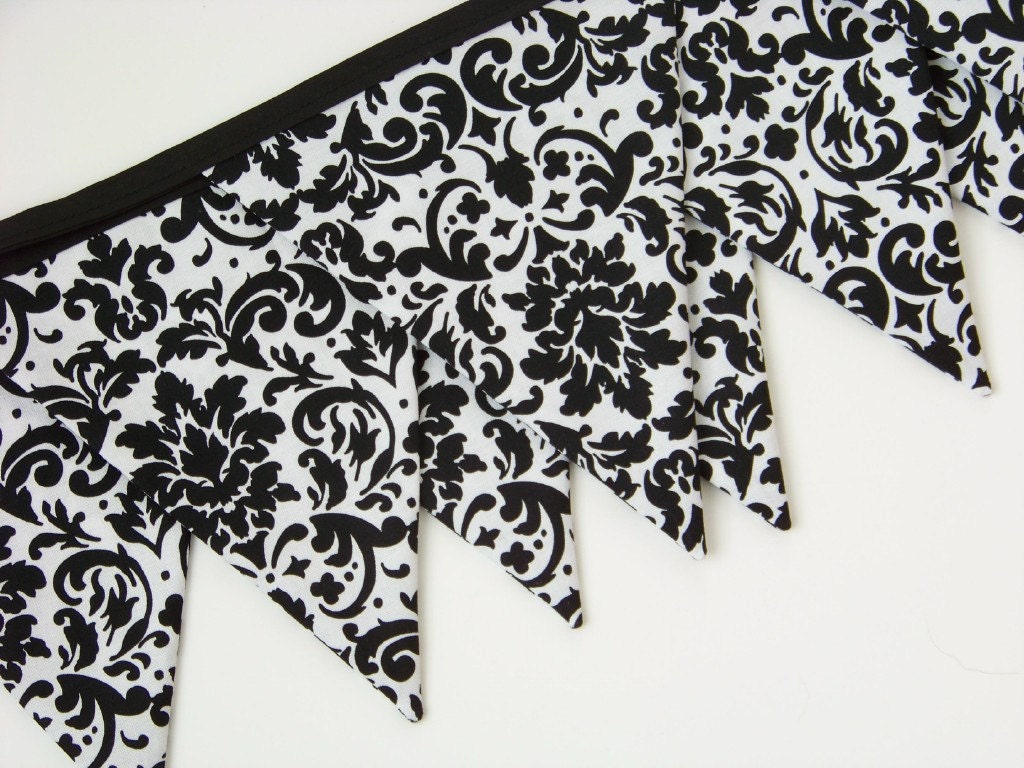
Damask fabric is said to have been created in Damascus, Syria. Damask fabric can be identified by its striking pattern. Damask fabric is multi-functional and that is why we love it at Sew Moni we love Damask.
Be the hostess with the most and welcome your guests with this brilliant chalkboard idea! Using a couple coats of chalkboard paint and an old silver tray you can make a great greeting plaque, a dinner menu, or a fun serving tray. Such a brilliant DIY!
My installation shown lends somewhat of a taxidermy feel. It's a mesh of photographic landscapes, charms from my grandmother's travels, images of inspirational closeups and a single fabric swatch. All elements are adhered to the wall with delicate pearl drop pins reminding me of the places I've been, the people I've had the privilege of meeting, and the passions of my heart. Every time my eyes wonder across the wall, I fell good and smile.
Here's how you can create the same feeling in your own unique way!
DIY Directions:
Materials
Photos: Choose your favorite photos and be sure to select a mix of 8x10 prints and/or 4x5s. Having a range of horizontal and vertical shots while paying attention to muted and bright color schemes is good to do to. Also, if you want a more streamlined and sophisticated feel, stick with a color theme of just black and white. Or selecting a certain subject matter, such as European bridges or romantic floral photos, would lend to refinement.
Pins: Pearl head pins, straight pins or T-pins work great. The thicker the pin the better!
Pin-able Trinkets: Includes anything that is light enough to be pinned to a wall. Ha! Stickers, patches, charms from a charm bracelet, feathers, paper, ticket stubs are all great options. Have fun with your selection and make it heart felt.
Completing the Collage
1) Arrange your goodies on a flat surface. Make sure to balance close up shots with landscapes, horizontal and vertical pictures. Be mindful of the colors and textures too.
2) Begin pinning the photos and keepsakes to the wall. Center your pin in the picture so that it hangs straight, or you could anchor each corner with a pin instead. I like the pictures to float a bit, so I chose to use one pin. The pinning may take some time, and you may find that you need to reconfigure a few things once it's all up, but be patient and have a critical eye. The wonderful thing is that changes are easy to make and since you're using pins instead of nails, the holes are almost unnoticeable if you have to move a picture.
3) Enjoy your work!
The blank chartreuse wall in my kitchen has been begging for some life since I moved in months ago. It wasn't until today that I discovered the remedy for the boring lifeless walls. Inspired by my mother, who hung a collection of blue and white porcelain plates in her yellow living room, I went shopping. I went on a whim after work today, determined to find my own vintagy hodgepodge of plates. To my wonderful advantage, I discovered six very different yet beautifully cohesive plates. Some of them are reprints of classic patterns or inspired by vintage textile designs. My luck continued when I went to Target, who, being the amazing retailer that it is, had plate hangers in stock!
Once I got home, it was just a matter of stretching the plate hangers over the back of the plates (although I had more difficulty taking the things out of their packaging than completing the project itself), figuring out a harmonizing arrangement and hammering nails into the wall. It made such a difference in my otherwise sterile Ikea kitchen. I love the depth and color the collection adds. It's just lovely.
I bought two blue and white plates in honor of my original source of inspiration, my mom, Laura. In fact, I feel a little more at home after it was all said and done. Maybe because it reminds me of my parents home in Florida, or maybe it's because the plates' vintage designs carry such history and depth that it brings a little sense of history and depth to my new NY home. Either way, I like the idea of both.
You too can have your own wall o' plates, just follow these simple steps:
Pick your plates.
I picked mine up at Marshalls for four bucks each. But Anthropologie, Urban Outfitters, Fishs Eddy, antique stores, or even stoop sales may have what you're looking for. Mix up your colors, prints, and sizes for an eclectic look. Or go for a color theme, like red and white, to have a more cohesive collection. An odd number of plates is usually more asthetically pleasing.
Don't forget to get plate hangers, wall anchors, and nails.
I found some a local hardware store and Target. Home Depot and Lowes should also have them. Make sure the size of the plate hangers will fit your plates.
Plan your design.
Clear off your table or a space on your floorand lay your plates out. Move them around into an eye pleasing form where color, silhouette, and size are balanced. I did 3 columns of 2, with the middle column offset.
Hang your plates.
Start with the center plate. Nail in the wall anchor and hang the first plate. Then take a plate that was next to the middle plate, position on the wall and mark. Nail in the anchor and hang the plate. Continue until your design is complete.
I've always been a fan of Toile or fabrics that connotate history. Toile came to life in the 16th Century and is French for "web" or "cloth". It's quite popular within the home decor markets and among Provencial interior designers. I dig it's complicated and harmonious print scenes.
My initial introduction to Toile was via my Mother and her many country Toile home decor projects. Toile prints from soft pink to primary black were always in the mix at my home in Texas.
I've begun to incorporate Toile for sewMONI Spring 2010 in light pastels and steel grey colors. I love the way it makes me feel regal in taste. Also, having a bit of Toile around [in home decor or personal accessories] reminds me of time past and new adventures to come!